
Table of Contents
Essential archery fundamentals explained by experts at Archery Country, covering everything from equipment selection to proper shooting form that ensures safety and accuracy for first-time archers.
Learn the critical techniques that separate successful archers from frustrated beginners, including proper stance, bow grip, anchor points, and common mistakes that sabotage accuracy from day one.
Key Takeaways
- Start with lighter draw weights (16lbs) regardless of physical strength to develop proper form before building up to heavier bows
- The "letter T" position at full draw creates optimal shooting posture with straight back and level drawing elbow
- Anchor points must remain absolutely consistent shot-to-shot since recurve bows lack rear sights for aiming reference
- Never dry fire a bow without an arrow loaded as stored kinetic energy will violently destroy the equipment
- Eye dominance testing determines whether to shoot with both eyes open or use blocking techniques for cross-dominant shooters
- Target distance should start extremely close (5 yards) to ensure success and build confidence before moving to standard distances
- Proper bow grip involves cradling rather than gripping, using a "stop sign" hand position to prevent torque and fatigue
- Follow-through motion with the release hand moving backward naturally improves consistency and mimics other athletic movements
Essential Safety Equipment and Setup
- Modern archery ranges provide rental equipment including recurve bows, finger tabs or gloves, and arm guards for complete beginners. The arm guard protects from bicep to wrist and prevents string contact injuries that commonly occur when learning proper form.
- Finger protection comes in two main styles: three-finger gloves covering index, middle, and ring fingers, or finger tabs that serve the same protective function. Both prevent string cuts and blisters while maintaining tactile feedback necessary for consistent releases.
- Target placement for beginners should prioritize success over challenge by positioning targets at 5 yards rather than the standard 20-yard distance. Mobile targets on wheels allow easy distance adjustments and prevent the frustration of missing completely and losing arrows.
- Bow weight selection proves critical for developing proper technique, with 16-pound draw weight recommended even for physically strong individuals. Heavy bows force compromised positions that create bad habits and increase injury risk through improper muscle engagement.
- The modular limb system allows upgrading draw weight by purchasing new limbs rather than complete bows, making progression cost-effective. Beginners can start light and systematically increase weight as form improves and stabilizing muscles develop.
- Range etiquette includes straddling the shooting line rather than standing behind it, maintaining compact loading positions to avoid interfering with adjacent shooters, and never drawing bows without arrows loaded regardless of location on the range.
Fundamental Shooting Form and Technique
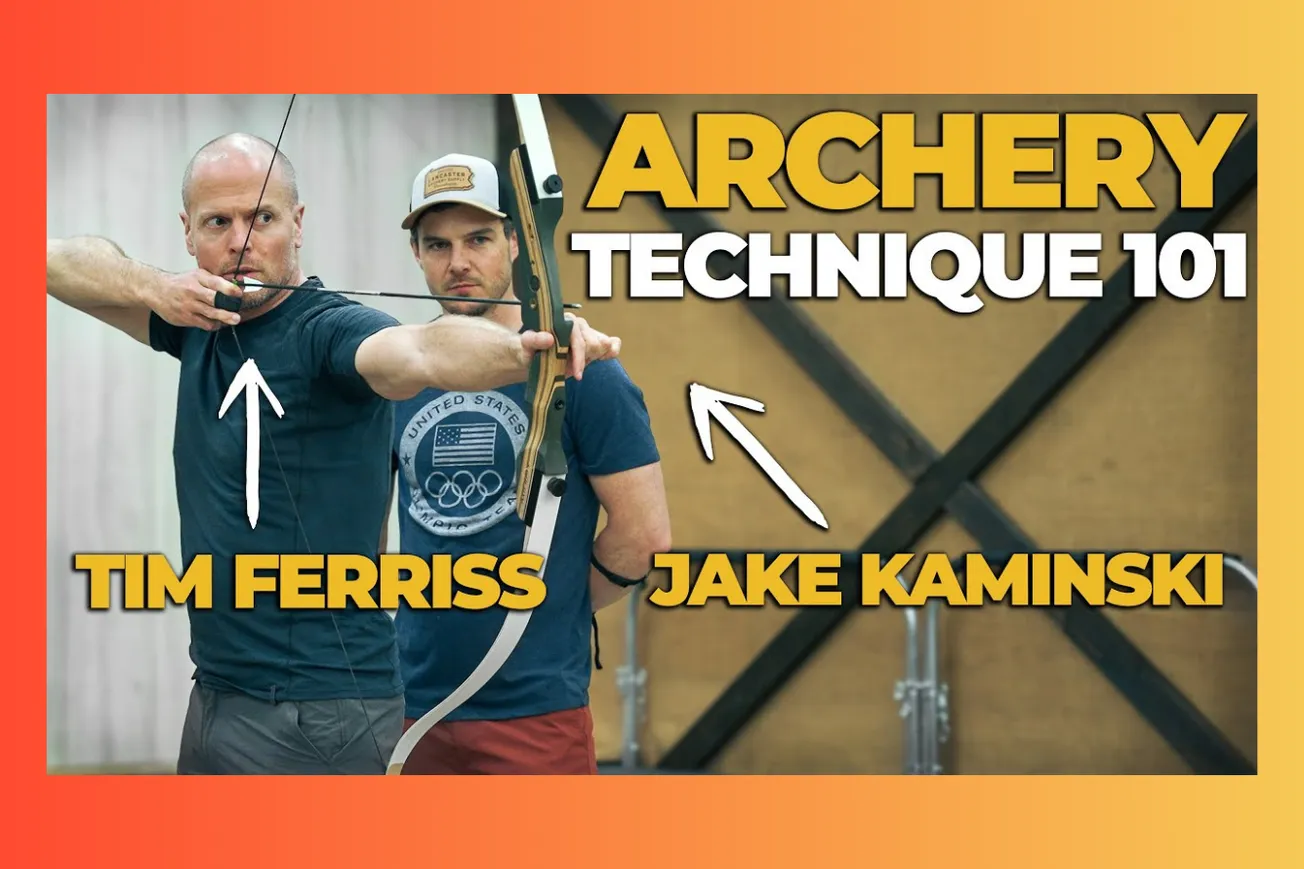
- The "letter T" position provides the foundation for all recurve shooting, requiring straight posture with the drawing arm's elbow level with the shoulders. This alignment maximizes biomechanical efficiency while creating a stable platform for consistent arrow release.
- Proper bow hand placement involves positioning the hand as if signaling "stop" to the bow, then curling fingers loosely around the front without gripping. The lifeline of the palm should contact only the thumb side of the bow grip to prevent torque introduction.
- Knuckle angle should approximate 45 degrees when the bow hand is properly positioned, with only the index finger lightly touching the bow front. Finger slings prevent bow dropping after release since proper technique requires minimal actual gripping of the handle.
- Three-finger drawing technique places all fingers underneath the arrow on the string, maintaining contact with the arrow nock during the draw process. Fingers function as hooks rather than grips, with the drawing motion initiated from the shoulder and back muscles.
- Drawing mechanics emphasize shoulder rotation around and behind the archer rather than bicep-dominant pulling that creates compromised positions. The movement resembles pull-starting a lawn mower, engaging large muscle groups rather than isolated arm strength.
- Anchor points establish consistent aiming references through physical contact between the drawing hand and face. Two primary methods include placing the groove between thumb and palm under the jawbone, or touching the index fingertip to the corner of the mouth.
Aiming Systems and Accuracy Development
- Sight picture development begins only after reaching full draw position, rather than aiming throughout the drawing process. This sequence prevents binding and allows proper biomechanical positioning before precision becomes relevant.
- Arrow point aiming provides the simplest accuracy system for beginners, using the arrow tip as a reference point aligned with desired target areas. Trajectory adjustments account for close-range shooting where arrows impact high when aiming directly at the target center.
- Consistent anchor positioning directly correlates with accuracy since recurve bows lack mechanical rear sights. Small variations in hand placement create significant point-of-impact changes due to the pivoting effect around the bow hand contact point.
- String alignment adds secondary reference points through consistent contact between the bowstring and the archer's nose and face. Multiple contact points improve repeatability compared to relying solely on hand position for anchor consistency.
- Group shooting prioritizes consistency over precision by focusing on repeatable form rather than bull's-eye hits. Beginners should celebrate tight arrow groupings regardless of target location, then make aiming adjustments to move groups toward center.
- Adjustment methodology involves systematic changes to aiming point based on arrow impact patterns, moving the sight picture in the direction needed to correct trajectory. This iterative process quickly establishes personalized aiming references for specific distances.
Eye Dominance and Vision Considerations
- Eye dominance testing reveals which eye naturally aims, using the triangle hand method or pointing exercises to identify the dominant eye. Approximately 80% of people can use these simple tests to determine their aiming eye preference.
- Cross-eye dominance occurs when handedness and eye dominance differ, such as right-handed shooters with left-eye dominance. This condition requires vision modification techniques since switching shooting hand sides often proves impractical for coordination reasons.
- Both-eyes-open shooting provides optimal neurological function and comfort when eye dominance aligns with shooting hand preference. Binocular vision reduces eye strain and maintains peripheral awareness compared to squinting or closing one eye.
- Vision blocking techniques for cross-dominant shooters include eye patches, hat-mounted blinders, or simple cardboard pieces that obstruct the non-aiming eye while keeping both eyes open. These tools eliminate conflicting visual input without the discomfort of squinting.
- Blinder positioning requires experimentation to find placements that effectively block the dominant eye without interfering with drawing motion or anchor point establishment. Many ranges stock eye patches specifically for addressing dominance issues in new archers.
- Shooting adaptation may require accepting vision compromises, as forcing incompatible eye-hand combinations typically produces inconsistent results regardless of technical proficiency in other shooting fundamentals.
Common Beginner Mistakes and Corrections
- Crossbow-style loading creates safety hazards and range etiquette violations by extending the bow horizontally into adjacent shooters' space. Proper loading positions the bow vertically between the legs while nocking arrows with minimal lateral movement.
- Grip pressure mistakes include both over-gripping that introduces torque and under-gripping that allows bow movement during the shot. The correct pressure resembles holding a small bird - firm enough to maintain control without causing harm.
- Head movement toward the string shortens draw length and compromises anchor point consistency, creating trajectory variations that prevent accurate shooting. The bow must be drawn to the face rather than moving the head to meet the string.
- Two-part releases involve conscious hand opening rather than natural tension relief, creating inconsistent arrow departure timing. Proper releases feel instantaneous as back tension naturally breaks the finger contact with the string.
- Stance errors include facing the target directly rather than straddling the shooting line, which compromises the letter T position and reduces shooting comfort. Perpendicular positioning to the target line optimizes biomechanical alignment.
- Premature aiming during the draw process prevents proper position establishment and often results in compromised form to accommodate sight alignment. Full draw must be achieved before any precision aiming begins.
Equipment Progression and Development
- Limb weight progression should increase gradually as form stabilizes and strength develops appropriately for archery-specific muscle groups. Jumping weight increments too quickly compromises technique and increases injury risk through overexertion.
- Finger sling adoption prevents bow dropping fears that cause gripping tension, allowing proper cradle-style bow hand positioning. Simple shoelace loops provide adequate safety without requiring expensive specialized equipment.
- Arrow rest systems vary from simple plastic shelves to no rest at all, with shelf shooting being perfectly acceptable for traditional recurve archery. Equipment sophistication should match skill level rather than exceeding practical needs.
- Target size scaling ensures continued success as distances increase, maintaining the psychological benefits of hitting targets rather than focusing purely on precision scoring. Larger targets at longer distances preserve motivation during skill development.
- Range selection should prioritize instruction quality and safety protocols over equipment sophistication, as fundamental technique matters more than access to premium gear. Consistent practice with basic equipment surpasses occasional access to advanced setups.
- Coaching availability varies significantly between facilities, making self-education through quality instruction videos and resources valuable supplements to in-person range experiences and formal lessons.
Common Questions
Q: What draw weight should complete beginners start with?
A: 16 pounds regardless of physical strength, as archery requires specific stabilizing muscles that differ from general fitness strength.
Q: How close should targets be for first-time shooters?
A: 5 yards to ensure hitting the target and building confidence before progressing to standard 20-yard distances.
Q: Is it safe for children to learn archery?
A: Yes, children as young as 5-6 can safely learn with proper supervision, appropriate equipment sizing, and basic instruction following.
Q: What's the most critical safety rule in archery?
A: Never dry fire a bow by releasing the string without an arrow loaded, as this will violently destroy the equipment.
Q: How do I know which eye to use for aiming?
A: Use the triangle hand test or pointing method to identify eye dominance, then match shooting style accordingly or use blocking techniques.
Archery fundamentals emphasize safety, consistency, and proper form development over immediate precision. Success comes through patient practice of basic techniques rather than rushing toward advanced equipment or challenging distances.
Starting with appropriate equipment weights and target distances builds confidence while establishing the muscle memory necessary for long-term archery enjoyment and skill development.


